Create a New Apple ID: Your Smart Guide for 2025
Creating a new Apple ID is essential for accessing Apple services, including the App Store, iTunes, and iCloud. Whether you’re getting a new device or simply need to register a new Apple ID, this guide will walk you through the process step-by-step. Follow these easy tips to ensure a successful Apple ID registration.
Understand the Benefits of Creating a New Apple ID
Before diving into the steps on how to create an Apple ID, it’s important to recognize the **advantages** of having one. A new Apple ID opens the door to **Apple ID benefits** such as accessing exclusive content in the App Store, syncing your data with iCloud, backup options for your apps, and much more. For families, Apple ID provides an easy way to share purchases, and manage account settings effectively. These features enhance the user experience, making your Apple devices even more convenient to use.
Apple ID Requirements for Registration
To create an Apple ID, there are a few basic **Apple ID requirements** you need to meet. First, you need to be at least 13 years old, as per Apple’s policies. You’ll also require a valid email address that isn’t already associated with another Apple ID. If you want to access multiple devices, think about **linking your Apple ID** with your iPhone, iPad, or Mac for streamlined usability. Lastly, prepare a secure and memorable password to protect your account.
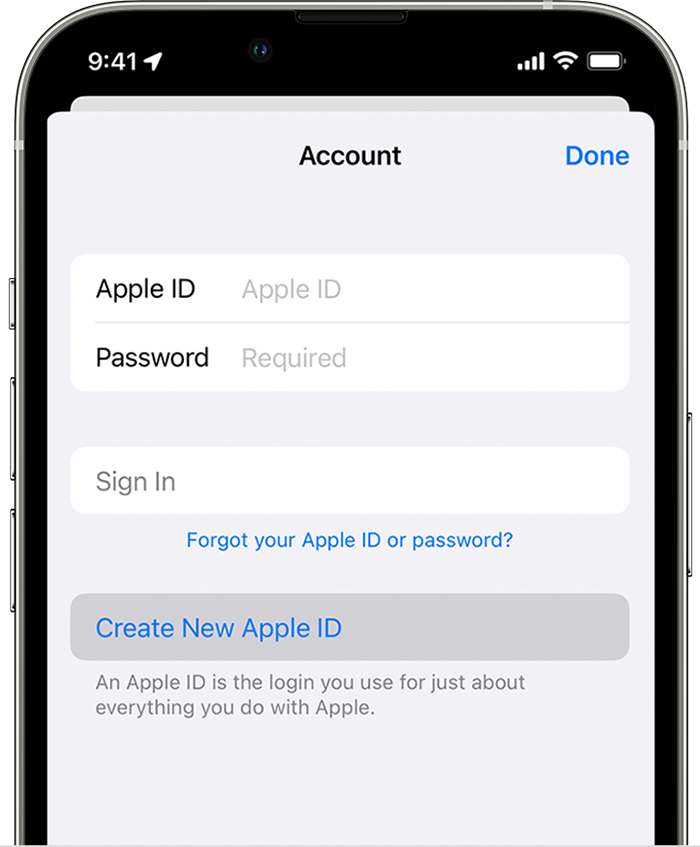
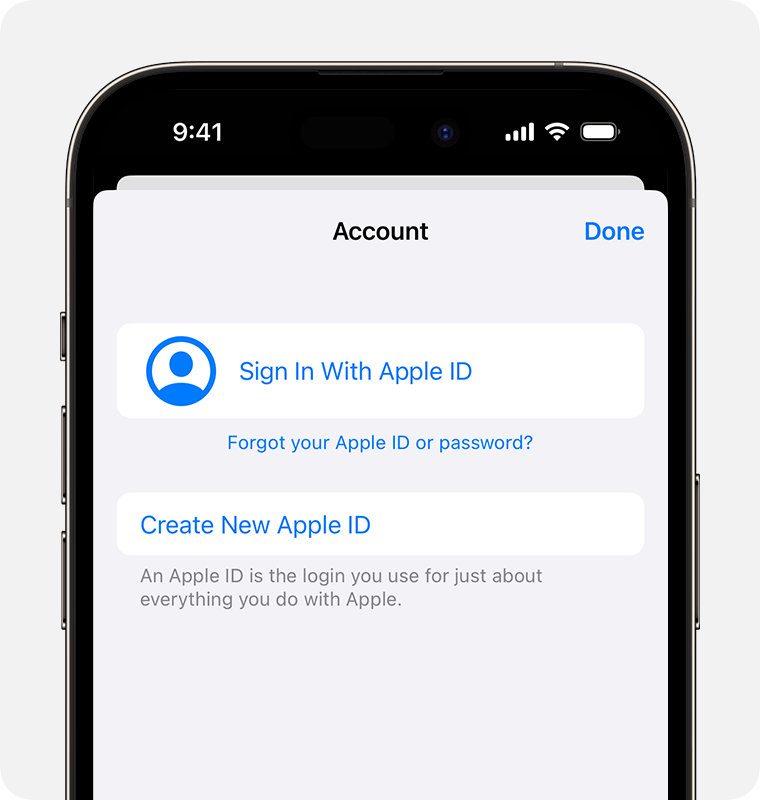
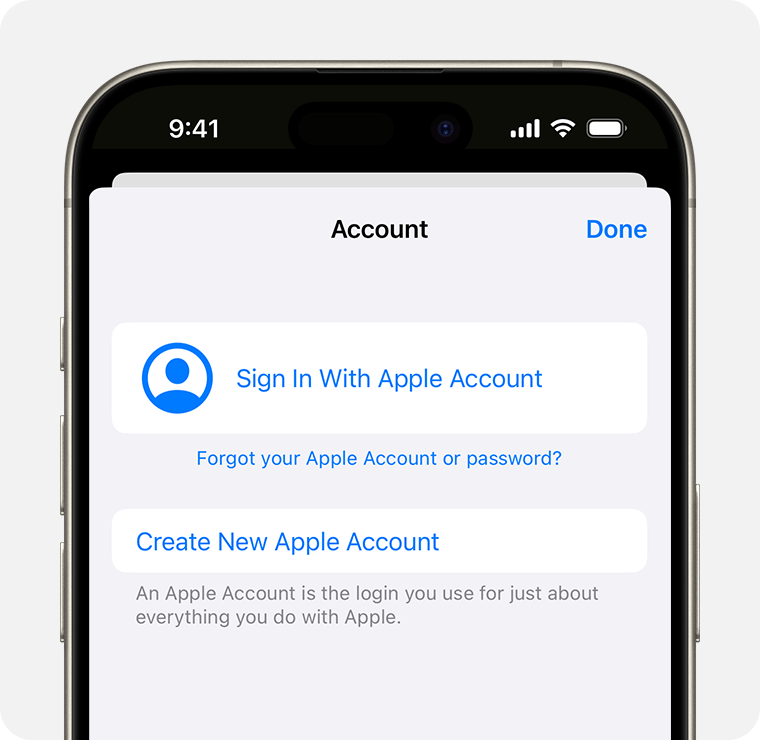
How to Create an Apple ID on iPhone
If you’re an iPhone user, here’s a quick guide on **how to create an Apple ID** using your device. Start by going to the Settings app and scrolling down to find ‘Sign in to your iPhone.’ Tap on it, and you’ll see an option for ‘Don’t have an Apple ID or forgot it?’ Select that. Follow the prompts to provide the required information such as your name, email, and password. Don’t forget to enable two-factor authentication for enhanced **Apple ID security**!
Tips for a Secure Apple ID Creation
When setting up your new Apple ID, maintaining security is a critical factor. Use a password that includes a mix of letters, numbers, and special characters to create a strong **Apple ID password**. **Verify your Apple ID** by answering security questions and enabling **two-factor authentication**. This will add an extra layer of protection, making it harder for unauthorized users to access your account. Also, regularly update your **Apple ID settings** to ensure your recovery information is current.
Setting Up and Managing Your Apple ID
Once you have your new Apple ID established, the next step is to completely set up and manage your Apple ID effectively. Proper management of your **Apple ID account** will ensure you maximize all the features and benefits Apple provides. It’s also vital for maintaining privacy and accessing content seamlessly across devices.
Accessing Apple ID Settings
To manage your account, navigate to the ‘Settings’ app, and tap on your name at the top. Here you can view all the **Apple ID settings**, including name, password, payment information, and options to manage your subscriptions. Using this section, you can easily **edit Apple ID information**, set up **Apple ID for Family Sharing**, and adjust storage options in iCloud as necessary.
How to Reset Apple ID Password
Sometimes, you might forget your Apple ID password, or simply want to change it for security. To **reset your Apple ID password**, go to ‘Settings,’ tap on your name, then go to ‘Password & Security.’ Follow the prompts to create a new password. Be sure to keep it secure and memorable for the future! This can help avoid issues during **Apple ID login**.
Dealing with Common Apple ID Issues
If you face trouble accessing your **Apple ID** or have issues such as account verification errors, try troubleshooting steps. First, ensure that you are correctly entering your credentials. If it’s unrelated to your input, reset your password or follow the procedures outlined in **Apple ID support** documentation. Always keep your information updated to minimize complications.
Using Your Apple ID Across Multiple Devices
A new Apple ID allows you to access and sync across various devices such as iPhone, iPad, and Mac. Using the same Apple ID means you can utilize features like iCloud for backups and **access Apple ID settings** from any device. Here’s how to get your Apple ID working seamlessly on multiple devices.
Link Apple ID with Multiple Devices
To improve functionalities, consider using a single Apple ID across your devices. This allows seamless syncing of apps, preferences, and files through iCloud. When you set up your device for the first time, during the prompt for a new Apple ID, simply select ‘Sign in with your existing Apple ID’ to link devices. This will allow you access to purchased apps from all connected devices, making your **Apple ID management** much easier.
Using Apple ID for Family Sharing
Family Sharing is an excellent feature that allows multiple users to share purchases, subscriptions, and services through a single Apple ID. To enable this, start by ensuring all family members have their Apple IDs set up. Go to your Apple ID settings, tap on ‘Set Up Family Sharing,’ and follow the prompts. Family members can then share Apple Music, Apple TV+, and app purchases, thus maximizing your subscription benefits.
Key Takeaways
- Creating a new Apple ID is simple but requires a few essential steps and precautions.
- Be aware of the benefits of your Apple ID; they enhance your experience across Apple services.
- Regularly manage your Apple ID settings to optimize security and usability.
- Remember to link your Apple ID across all your devices for seamless integration.
- Troubleshoot and maintain security to have a smooth experience with your Apple ID.
FAQ
1. How can I recover a deleted Apple ID?
If you’ve deleted your Apple ID, recovery is not straightforward. You must contact Apple Support and provide the necessary details to verify your identity. They will guide you through the **Apple ID account recovery process**. Be prepared to provide details about associated devices and previous purchases.
2. What should I do if my Apple ID is locked?
If your Apple ID gets locked for security reasons, the first step is to go to the Apple ID account page and try to unlock it using the “Forgot Password?” option. Follow the verification prompts. If unsuccessful, contact **Apple ID support** for further assistance.
3. Can I create an Apple ID without a credit card?
Yes, you can create an **Apple ID without a credit card**. When prompted for payment information, select ‘None.’ This is particularly useful for users looking to create an Apple ID for children or those who do not wish to store payment methods initially.
4. How do I verify my Apple ID?
To **verify your Apple ID**, you will often receive a verification email at the address you provided during registration. Click the link within that email to confirm your account. If you do not receive a verification email, check your spam folder or request a new one from your Apple ID settings.
5. What are **Apple ID alternatives** I can use?
If you’re considering alternatives to Apple ID, note that you can sometimes use social media accounts or other services (like Google or Facebook) for specific apps, but many Apple features still require an Apple ID to function optimally. Consider options only for services where integration is permissible.
6. What happens if I forget my Apple ID?
If you forget your Apple ID, go to the Apple ID account page and select ‘Forgot Apple ID or password?’ Follow the prompts to recover your Apple ID by entering your details. Having recovery email responses handy will facilitate faster restoration.
In conclusion, creating a new Apple ID in 2025 is a straightforward process that can greatly enhance your experience with Apple products. By following this guide and applying the tips provided, you’ll be well-equipped to make the most of your new Apple ID. If you have further questions or need more information, don’t hesitate to seek **Apple ID assistance**.